

OEM Abrasive Paper Choosing the Right Grit for Perfect Finishes
2026-09-10
Most grit guides treat abrasive paper like a one-size-fits-all shortcut, but OEM finishing lines don’t work that way. A single wrong pick can leave swirl marks, burnish the surface, or kill your cycle time. That’s exactly why SHENZHEN SUN ABRASIVES focuses on matching grit, backing, and coating to real-world finishing demands. Here’s how to choose the right grit without falling into the usual traps.
What Grit Numbers Actually Mean for Cutting Speed and Surface Quality
A low grit number, something in the 24 to 60 range, means fewer but larger abrasive particles packed onto the backing. These big particles dig deep, tear through material quickly, and leave behind visible grooves that you can catch with a fingernail. That aggressive cutting is exactly what you want for stripping paint or leveling rough lumber, but it comes at the cost of surface quality. You are essentially trading away a smooth finish to save minutes on the job.
Move into the 80 to 120 range and you hit a middle ground where cutting speed drops noticeably, but the scratches start to fade. The particles are smaller, cutting shallower, and removing less material with each pass. Woodworkers often stop here for surfaces that will be painted or covered, because the effort to go finer adds time without a practical gain. For visible surfaces, though, this is rarely the stopping point.
High grit numbers, from 180 up to 400 or beyond, are all about refining what the coarse grits left behind. Each pass removes only a whisper of material, but the surface becomes progressively more uniform. The trade-off is real: you can spend three times as long sanding at 320 grit as you did at 80 grit, and the workpiece might only look marginally better to the naked eye. Yet for a clear finish or polished metal, those tiny scratches are the difference between a cloudy reflection and a crisp one. The key is to not skip grits; jumping from 60 to 220 just polishes the deep scratches instead of removing them.
Matching Abrasive Grit to Wood, Metal, or Composite Without Guesswork
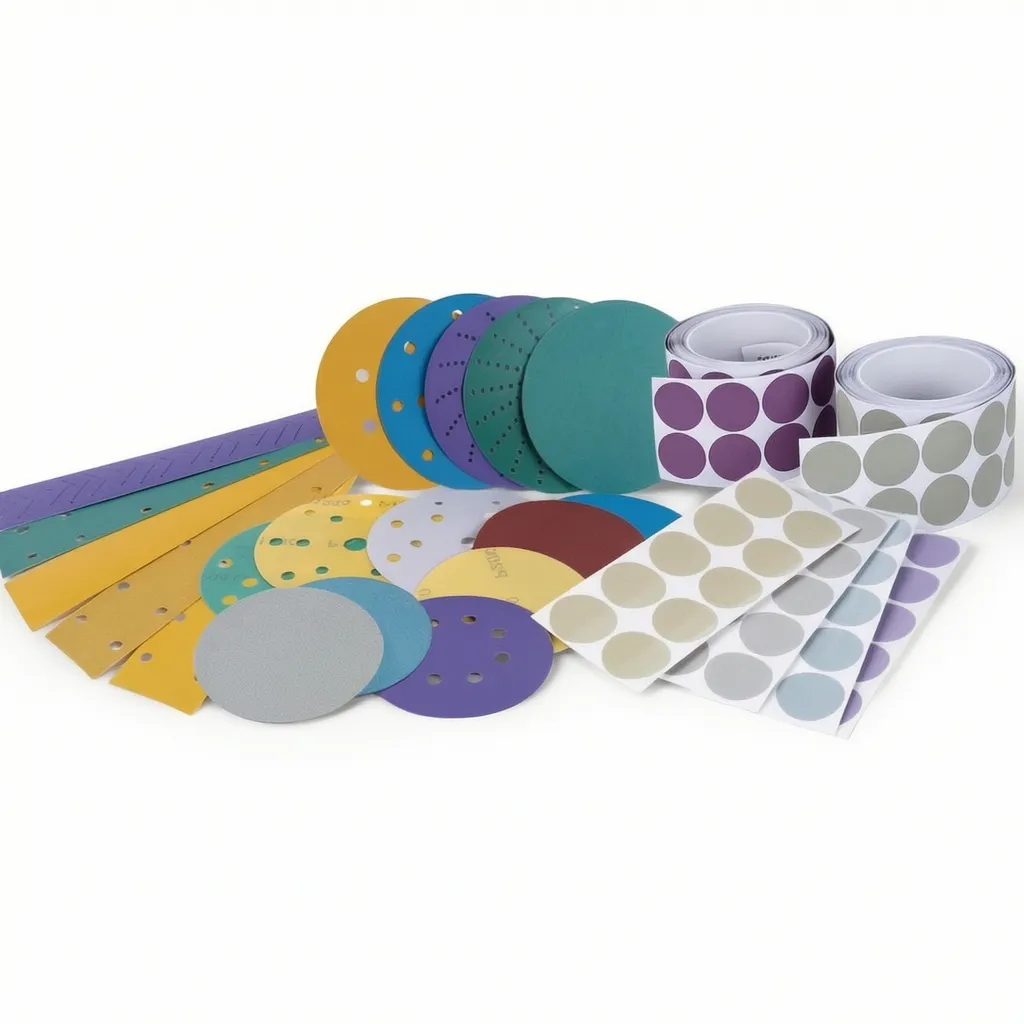
Sanding wood isn’t about working through every grit on the shelf. Start with 80 to level joints and remove mill marks, then move to 120 only after those deeper scratches disappear. Jumping to 180 or 220 too soon just polishes the hills while valleys remain. On metal, coarse grits like 40 or 60 shape fast but build heat, so switch to 80 or 120 as soon as the form is close. Composites are the wild card: fiberglass and carbon fiber can fray if you use too fine a grit too early, while resin stays glossy and hides scratches until clear coat hits.
A better way is to read the surface rather than follow a chart. After each grit, wipe the area with a damp cloth or mineral spirits and look at it from a low angle. If you see uniform haze with no long scratches, you’re ready to move up. If there are still lines from the previous grit, stay put or drop down one step. Dense materials like hard maple or stainless steel can skip a grit, but soft pine or thin aluminum will show every skipped step. Spend five minutes testing on a scrap piece and you’ll never have to guess again.
A Simple Grit Progression That Keeps Deep Scratches From Ruining the Finish
Deep scratches don't have to mean a ruined finish, provided you work through a sensible sequence of grits. Start with something coarse enough to level the damage but not so aggressive that it digs new valleys into the surface. For most wood or painted surfaces, 120 grit is a safe opening move: it removes material quickly, yet leaves marks that are easy to erase later. Resist the urge to linger here; long strokes with even pressure do more good than scrubbing at one spot.
Move up gradually rather than jumping several grades at once. After 120, go to 180, then 220, then 320. Each step removes the scratches left by the previous paper, so skipping from 120 straight to 320 simply leaves the deep lines behind while polishing the surrounding area. Think of it as erasing pencil marks with a slightly cleaner eraser each time—not switching from a wire brush to a microfiber cloth.
Before switching grits, wipe the surface with a tack cloth or a damp rag and check under raking light. Deep scratches will show as shiny grooves against a dull background. If they're still visible, drop back one grit and work a little longer. Once the surface feels uniformly smooth to your fingertips and looks even under low-angle light, you're ready for primer, paint, or clear coat. A methodical progression like this turns a potential disaster into a finish that looks factory fresh.
Why Lower Grit Isn't Always the Fastest Path to Removing Material
It’s tempting to grab the coarsest abrasive you can find when you need to hog off material quickly, but that instinct often backfires. Very low grits leave deep, jagged scratches that can tear the surface rather than shear it cleanly. The result is a rougher finish that demands more work with subsequent grits to clean up, and in some cases, the damage goes deeper than the actual stock removal you intended. You end up chasing your tail, spending extra time repairing the surface instead of moving forward.
A slightly higher grit, used with the right pressure and speed, can actually clear material more efficiently because it cuts with a more consistent scratch pattern. The abrasive particles stay sharp longer instead of fracturing off in large chunks, and the swarf clears better from the contact zone. That means less heat buildup, fewer loading issues, and a more predictable rate of removal. When you’re not fighting the tool or reworking deep gouges, the whole process speeds up even if the initial bite feels less aggressive.
There’s also the question of what “fast” really means. If a lower grit leaves a surface so torn that you need three extra steps to bring it back to spec, it wasn’t the fast path at all. Starting a step or two finer can reduce the total number of grit changes and save material from being wasted as you correct earlier mistakes. The smart move is to test a small area, watch how the abrasive behaves under your conditions, and let the actual removal rate—not the grit number—tell you what works.
Testing a Small Batch Before Committing to Full Production Runs
Running a full production order without first validating the product can lead to wasted materials, unexpected defects, and costly rework. A small batch test offers a practical way to catch issues early, whether it is a minor stitching flaw in apparel or a slight color mismatch in printed packaging. By limiting the initial run to a fraction of the final quantity, you gain room to adjust processes, refine quality checks, and confirm that the item meets your standards before scaling up.
This step also helps you evaluate how the product performs under real conditions rather than relying solely on prototypes or digital mockups. For example, a sample batch of food containers can be tested for seal integrity and microwave safety, while a limited run of ceramic mugs can reveal glaze inconsistencies that only appear after firing. The feedback from these tests allows you to make smart tweaks without risking large inventories of flawed goods.
Beyond quality control, a small batch run gives you a chance to measure production time, labor costs, and material usage more accurately. When you commit to full production afterward, you do so with a clearer picture of what to expect, which reduces surprises and helps maintain consistent output. It is a simple but powerful way to protect both your budget and your brand reputation.
Knowing When the Surface Is Smooth Enough to Stop Sanding
Your fingertips are better than your eyes for this. Run them across the surface with light pressure. If you feel any drag or micro-catch that interrupts the glide, keep going. A properly smoothed surface will feel almost glassy under your fingers, and you'll notice the sound changes too—less scratch, more hiss.
Hold the piece at a low angle to a window or work light. Scratches that disappear under direct overhead light will suddenly jump out as faint shadows. You're not looking for a mirror finish here; you're looking for consistency. If the pattern of fine scratches is uniform and there are no deeper grooves left from the previous grit, it's time to move up or stop.
A quick water wipe can reveal what dry wood hides. Wipe with a damp cloth and watch how the moisture sits. It should form an even film, not bead up along invisible scratches. If it beads or shows erratic wetting, the surface still has enough texture to need one more pass.
FAQ
The lower the number, the coarser the paper. Metal usually calls for a finer starting grit because it scratches easily and needs a smoother progression. Wood can handle a coarser start like P120 or P150, while bare metal often starts around P180 to P220 to avoid deep grooves that are hard to remove later.
A safe progression is to never jump more than about 50% in grit number at a time. For example, on painted surfaces you might go P320, P400, P600, P800, P1000, P1500, P2000, P3000. That keeps each step only deep enough to remove the previous grit's scratches.
Fresh primer is relatively soft and you don't want to cut through it. P320 is aggressive enough to level minor texture and give the basecoat something to grip, but it won't leave deep sanding marks that show through the final paint.
No. Stainless steel is much harder and needs finer grits plus polishing compounds to reach a true mirror. Acrylic can reach a near-mirror look with fine wet sanding, but too much heat or pressure will melt or haze it. You have to match the grit and technique to the material, not just the final number.
Heavier or stiffer backings like film or thick paper spread pressure more evenly and reduce finger marks or low spots. With very fine grits, a flexible backing can fold or concentrate pressure in small areas, leaving an uneven sheen. Film backings are often the best choice for final finishing.
Switch when the paper starts to load up, when you feel heat building, or when you move past about P600 to P800. Wet sanding flushes away particles, keeps the surface cool, and prevents fine scratches from dry debris. It's especially useful on clear coats and plastics.
Neither extreme works well. Heavy pressure creates deep scratches and heat damage, while very high grit just polishes the peaks without leveling the texture. Start with a mid grit like P800 or P1000 on a firm pad, use even pressure, then step up through finer grits before polishing.
Keep sheets flat or rolled loosely in their original packaging, away from moisture and direct heat. Humidity makes paper curl and the abrasive layer crack. If sheets do curl, place them under a flat weight for a day. Avoid stacking them face-to-face so grit doesn't transfer or dull.
Conclusion
In a production environment, the numbers printed on OEM abrasive paper are less about absolute roughness and more about how the grit interacts with the material under your specific pressure and speed. A 120-grit sheet does not behave the same on dense hardwood as it does on a soft composite—it can load up or glaze over before it has done any real cutting. Instead of chasing a universal chart, match the abrasive to the substrate: use friable aluminum oxide for metals where the grit needs to fracture and expose new edges, and choose a stearated paper for resin-rich composites so heat and dust do not clog the surface. The progression matters just as much as the starting point. Jumping from 80 to 220 leaves deep scratches that only show up after staining or coating. A better route is to work through 80, 120, 180, then 240—each step removing the peaks left by the previous grit without wasting time.
There is a persistent assumption that lower grit removes material faster, but that only holds when the paper stays sharp. Once a 60-grit abrasive dulls and begins to ride on a bed of its own swarf, it stops cutting and starts burnishing the surface, which can actually slow down the whole operation. A fresh 100-grit can outperform a worn 60-grit by a wide margin. Before committing to full runs, run a small batch with the exact backing, pressure, and machine speed you plan to use. Feel the surface between passes and look at it under raking light—when the scratches are uniform and no single deep line stands out, you are close. Stop when the next finer grit would only polish rather than improve the finish; beyond that point, you are adding cost, not quality.
Contact Us
Contact Person: Amanda Wang
Email: [email protected]
Tel/WhatsApp: +86-13602569854
Website: https://www.sunabrasives.com.cn